Project Description
Pattern Selection Guide
The Stamped Concrete Process
Stamped Concrete can be a rather tricky thing if not installed by experts in the field. The trends and application processes are ever changing. We at Eclipse Concrete and Landscape are always educating ourselves on the new techniques used in the field of stamped concrete. We attend demonstrations put on by Butterfield color, our stamp and color provider, and are often scouring the internet for better application procedures and changes in the industry. Essentially though, the stamped concrete process can be broken down into 5 major components.
First, we like to meet with our clients to discuss plans for the project and evaluate the location of the proposed slab. This is also where we introduce the process of how it all works.
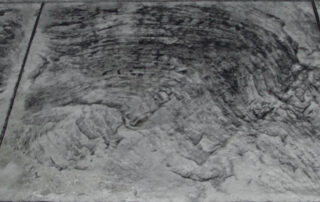
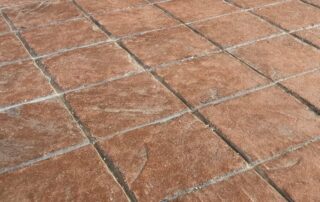
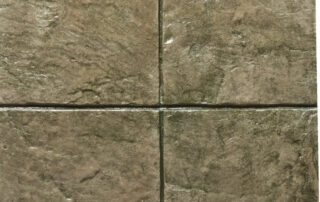
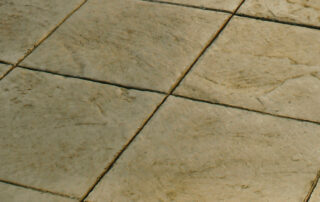
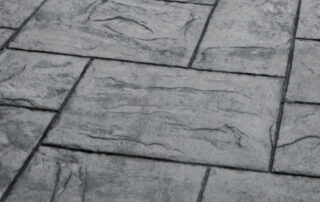
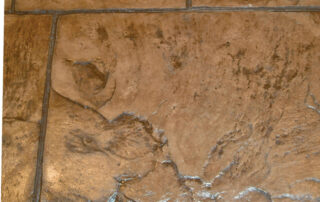
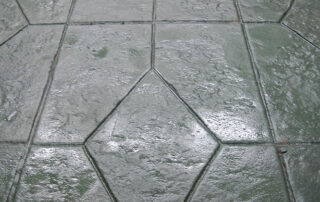
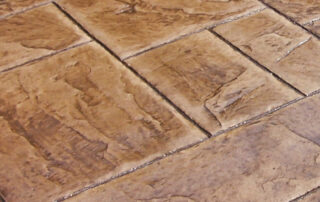
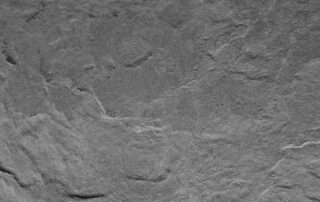
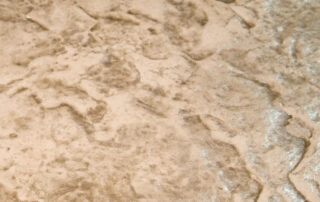
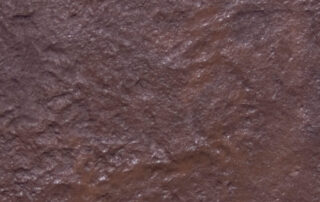
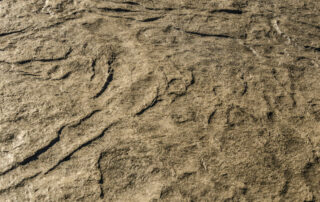
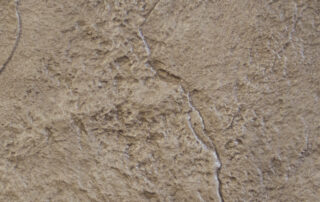
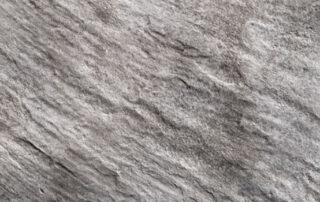
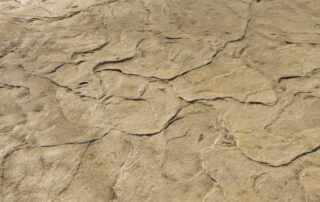
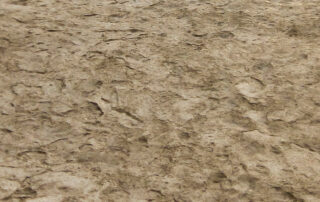
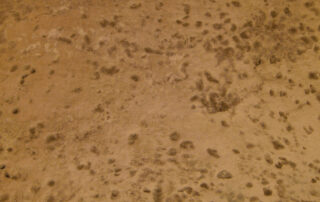
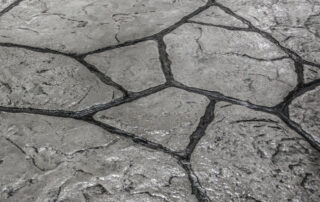
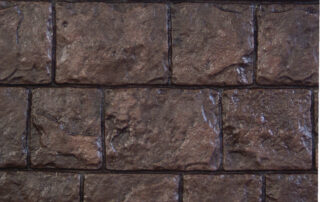
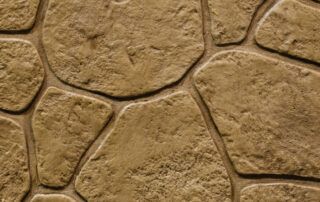
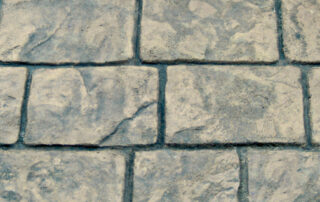
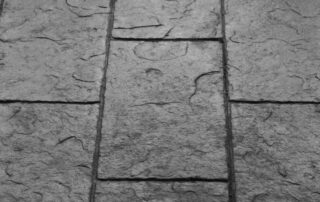
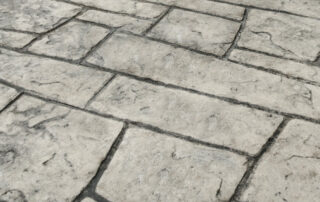
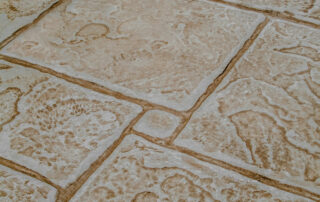
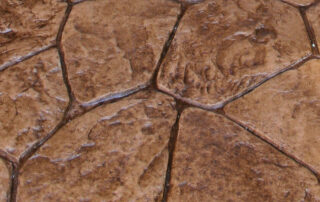
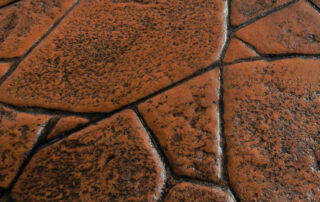
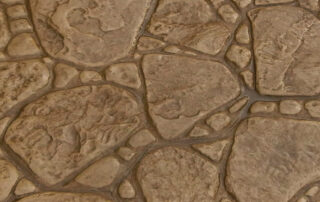
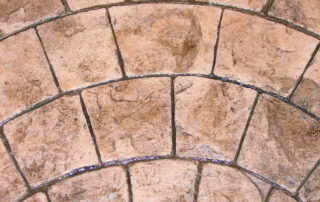
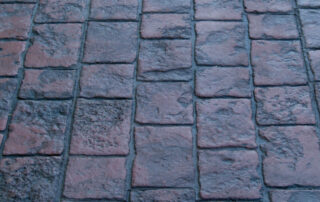
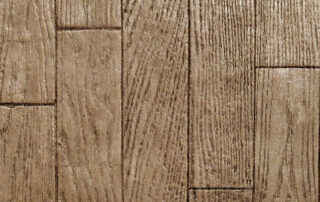
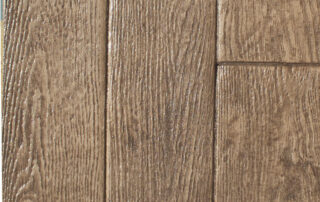
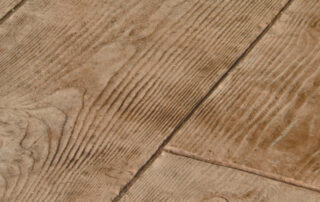
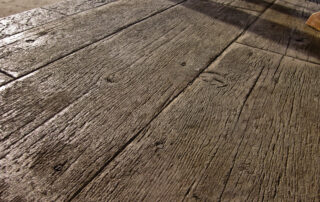
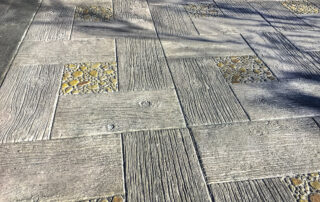
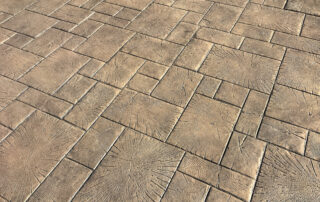
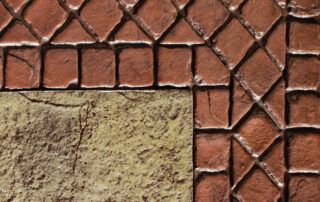
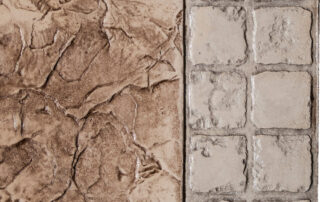
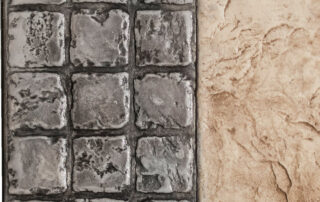
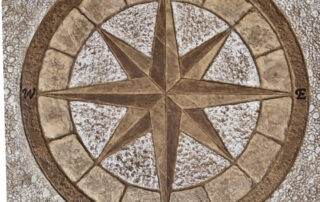
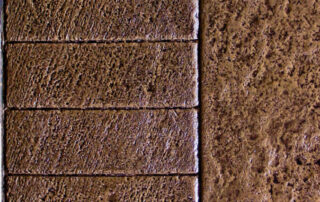
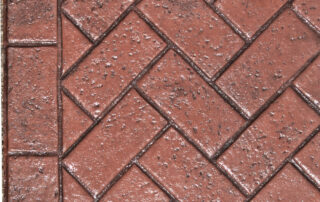
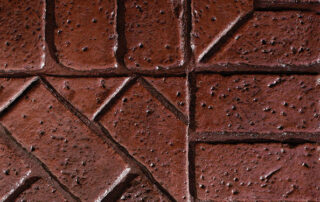
So how do we go about creating boring concrete into something that resembles hardwood, orchard stone, or even a river bottom? It all starts with selecting the pattern you would like to use. We’ve created this pattern selection guide to help you get the best results for your decorative concrete.
Browse through the pattern selection guide and come up with your favorite stamped concrete pattern. Once you have chosen the pattern you like best, it’s on to choosing your stamped concrete colors.
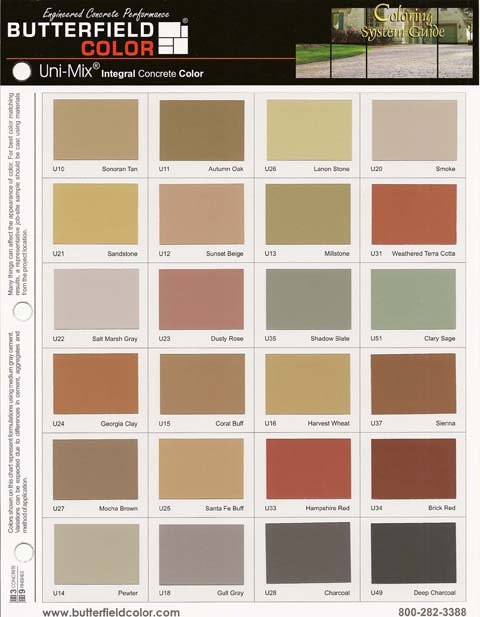
There are essentially two steps into adding color to your concrete. The first step is what is known as integral concrete color. As the name implies, this color is mixed in at the concrete plant and is your base color. Next you can choose a secondary color to highlight the existing integral color.
The concrete trucks will bring out the integral concrete color from the plant and the procedure is the same as when pouring any standard concrete slab. It’s unloaded from the truck and our team of highly skilled laborers and finishers levels it out, screeds the concrete, and then floats and finishes it. After the concrete has had a little time to set-up we come in with our stamps and imprint the design of your choice.
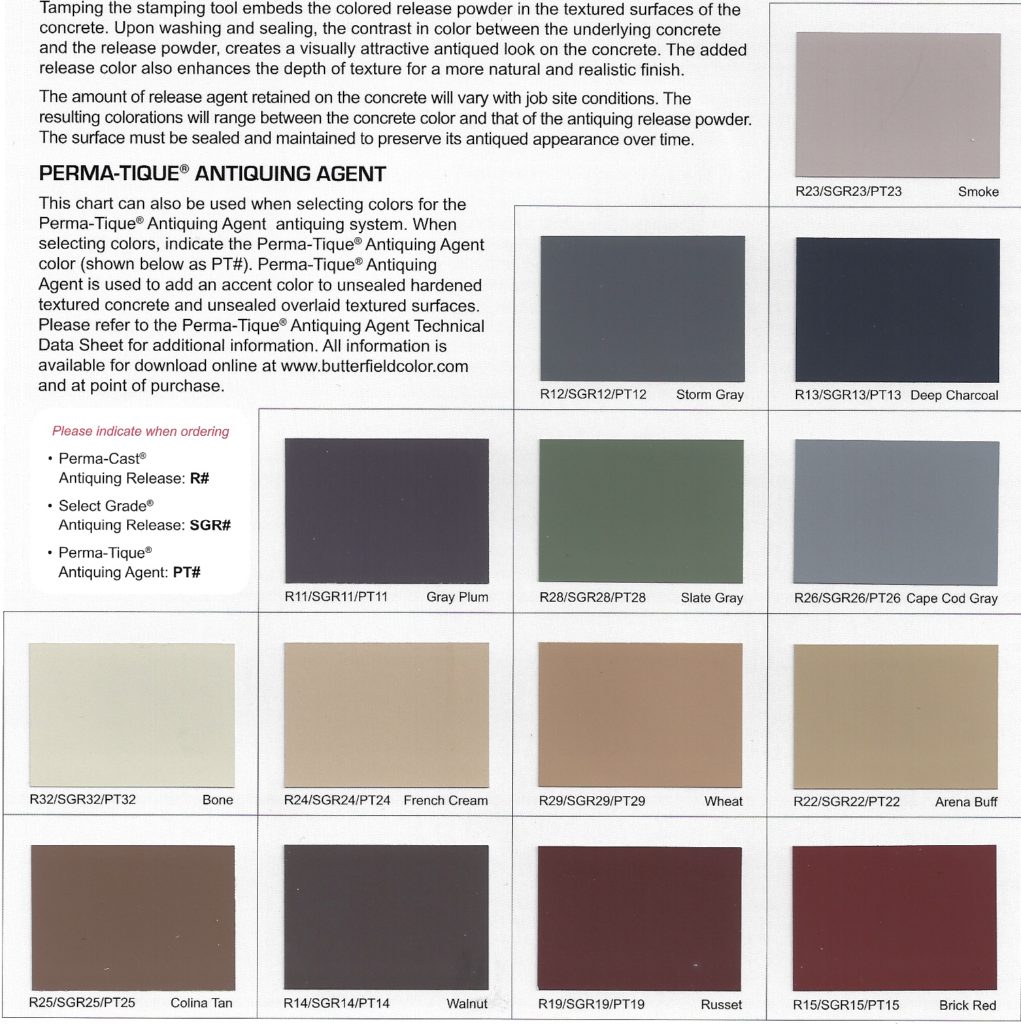
Traditionally, the secondary color is added at this stage of the process when the concrete is still wet. However, we’ve found that better results are achieved when coming back the following day and “antiquing” the concrete pad. When using a product from Butterfield Color called Permatique, we are able achieve much better results than the traditional method. The color is more even and results in a better product.
To better understand how the secondary color will affect the concrete it’s best to understand how its mixed up and applied. We thoroughly mix the color with water and fill up a pump sprayer. We then evenly coat the entire surface of the hardened concrete slab. What happens is the color and water mixture start to settle into the low lying areas of the stamp designs. For example, if you used a wood pattern it would settle into the wood grains and the space between the “boards”. If you used a stone pattern the color would settle into the “mortar joint” areas of the pattern. Eventually the water evaporites and you’re left with your color in the low-lying areas.
We typically recommend using somewhat contrasting colors for your integral concrete color and your permatique color. This gives the best finished product in my opinion. Below this article are the color charts to choose from when choosing your integral color and antique color. The screen you’re looking at may alter the colors slightly so it’s best to see them in person.
Finally, after the permatique color has been allowed to sit for roughly 24 hours, we come back with a high quality sealer from Butterfield color. The sealer is applied and that’s when you can really see how remarkable the entire process is. The colors become more vibrant and the patterns have more depth once the sealer has been applied.
It’s recommended that you seal your concrete patio, driveway, sidewalk, or floor once a year for the first two years, and then every other year after that.
We also offer restoration of old concrete pads that have lost their luster due to the tests of time.

